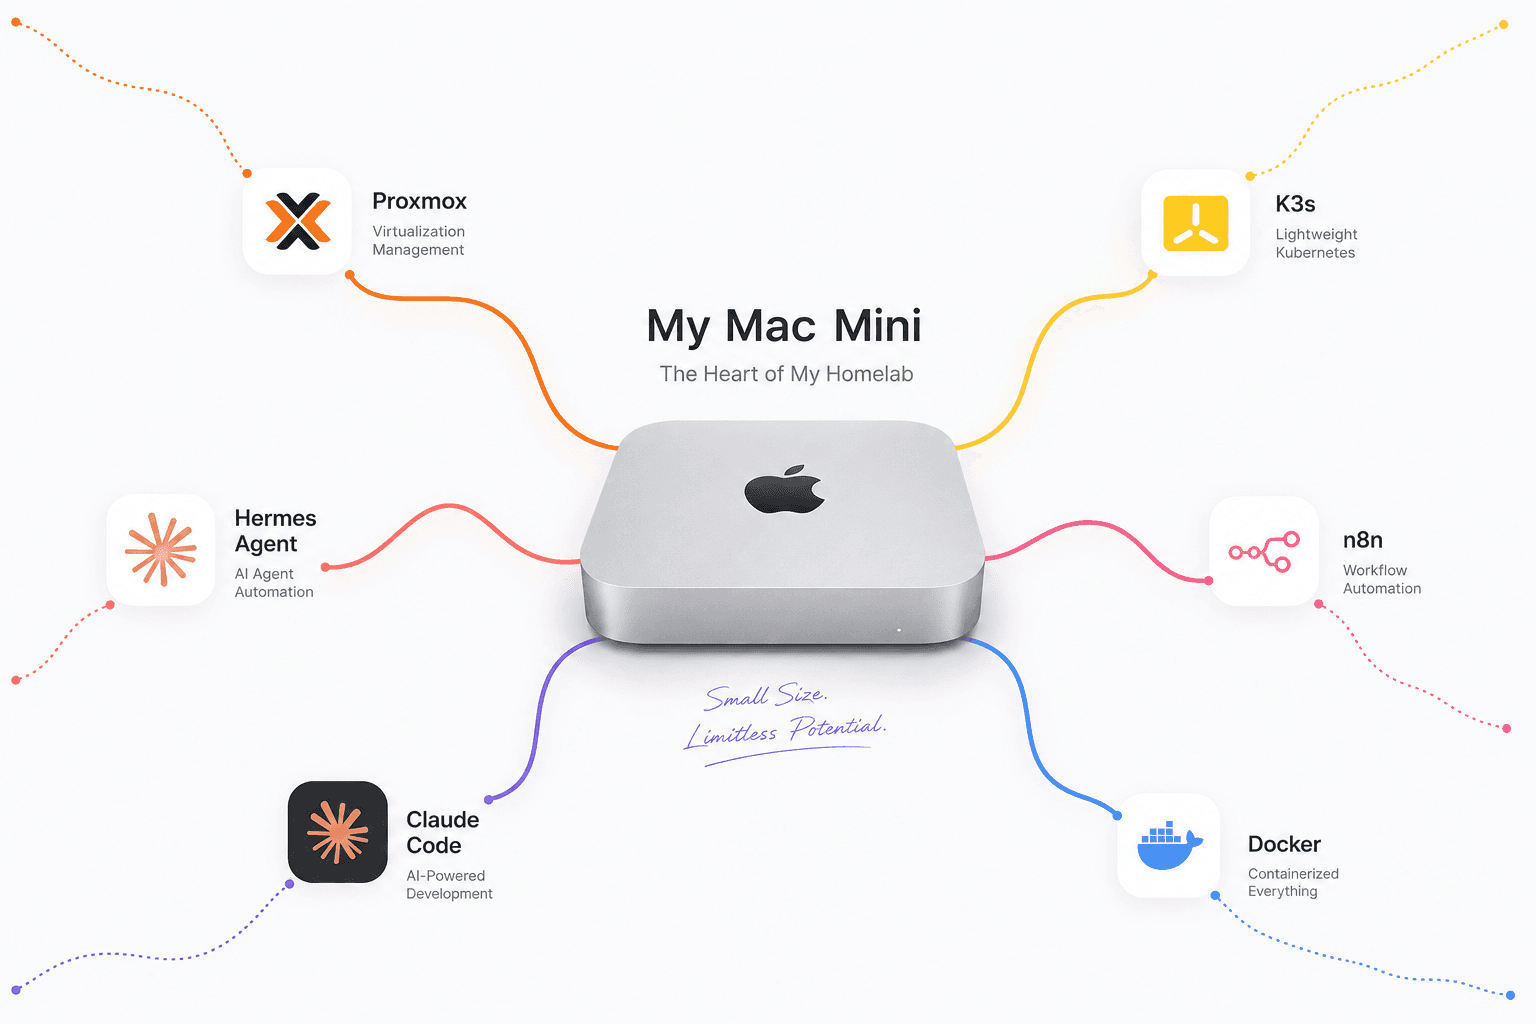
I have a Mac Mini sitting at home that never sees a monitor or keyboard again after the first setup. Power goes in, that's it — everything else happens over the network. I wanted to reach it, restart things on it, deploy to it, and get told the moment something's wrong with it, all from wherever I actually am.
This is the full setup: how it boots and stays reachable, how it connects to Wi-Fi in a way that heals itself, how a small Kubernetes cluster runs on it and gets exposed through a subdomain with no public IP involved, and what actually runs on it day to day.
Getting the base machine right
Before any of the interesting stuff, a headless box needs a few basics sorted — skip these and it'll eventually strand itself with no way back short of driving over and plugging in a monitor.
- 01Auto-login on boot.No monitor means no one's ever there to type a password, so it boots straight into a usable session on its own.
- 02Never sleeps.Every sleep/suspend/hibernate target is disabled, idle-suspend turned off — a headless box that sleeps is a headless box you can't wake up.
- 03Firewall, in the right order.Deny incoming by default, explicitly allow SSH, thenenable the firewall — reverse that order and you lock yourself out the moment it's on. fail2ban sits on top for brute-force attempts.
- 04Careful with automatic updates.The Wi-Fi driver on this machine isn't guaranteed to survive every kernel bump, so it's pinned to a kernel version I know it works on. I lose automatic security patches for that one component — a fair trade against waking up to a dead network with no monitor to fix it from.
Every one of these matters more on a machine you'll never physically touch again. Get the firewall order wrong, or skip pinning a flaky driver, and the failure mode isn't “annoying” — it's “drive over and plug in a monitor.”
Reachable from anywhere: Tailscale
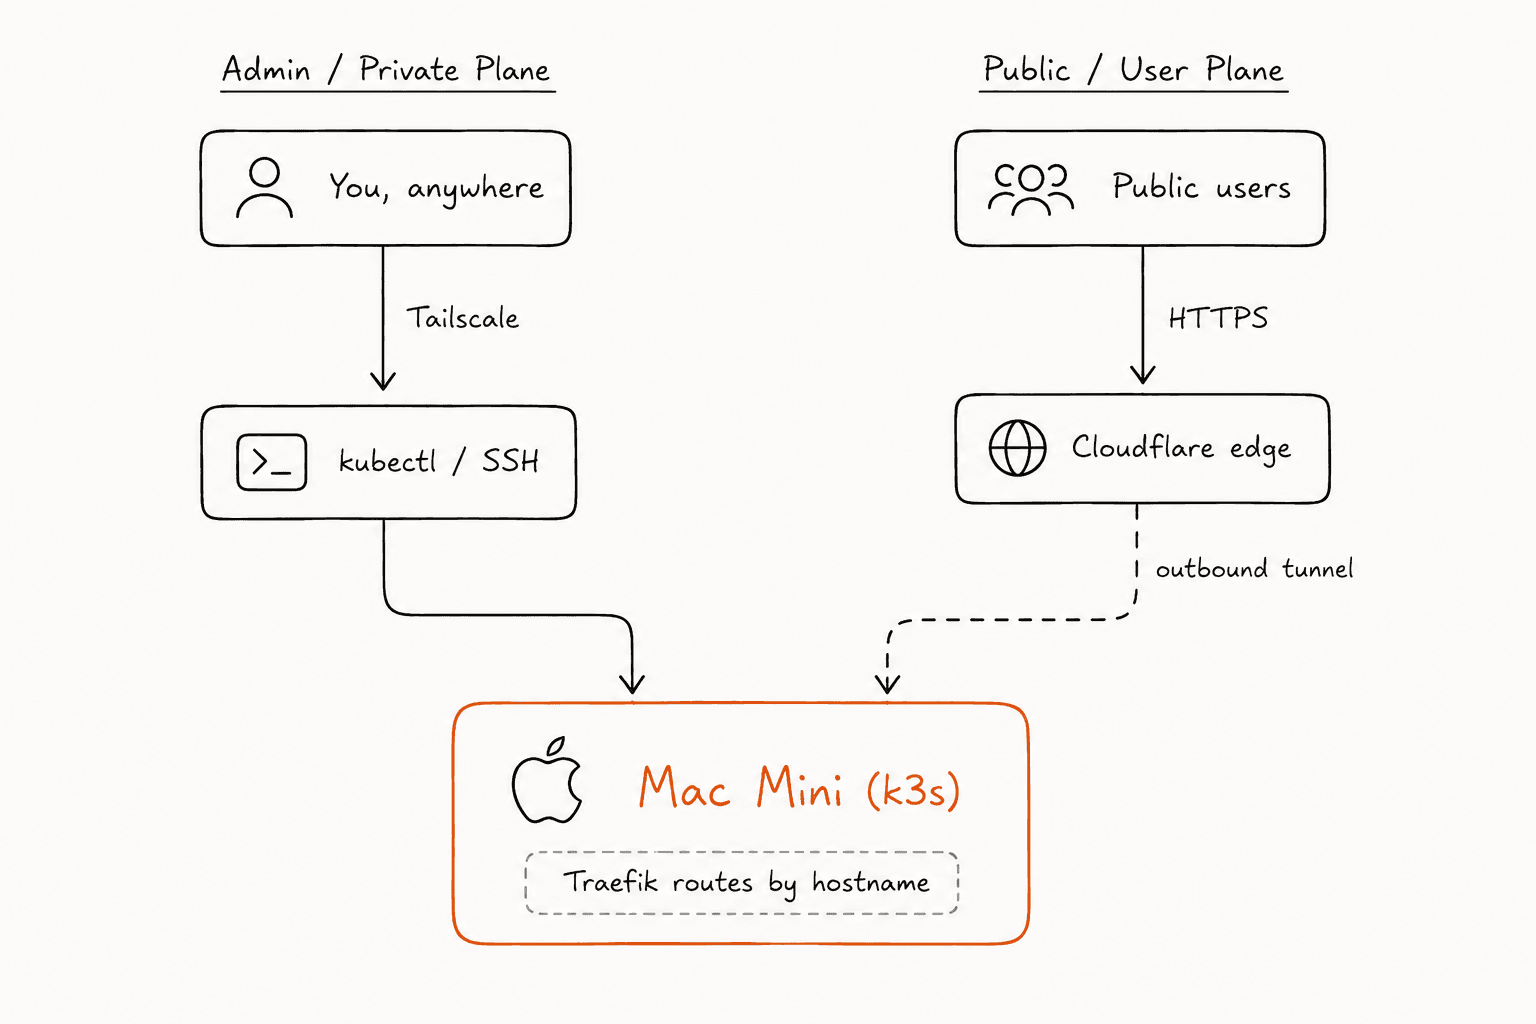
Tailscale is what actually makes “SSH in from anywhere” true. It's a mesh VPN — install it on the Mac Mini and on whatever device I want to reach it from, and the two can talk directly, encrypted, regardless of which network either one is sitting on. No port-forwarding, no exposing SSH to the open internet.
I run it with Tailscale SSH turned on, so authentication happens through Tailscale's own identity check instead of a password. Connecting is just:
ssh harsh@mac-mini
from any device on the same tailnet, using MagicDNS name instead of an IP that might change.
By default, a Tailscale node's key expires after about 180 days — and when it does, the machine silently drops off the tailnet. For a headless box, that's a machine you now can't reach to fix. Go into the Tailscale admin console for this device and disable key expiry right after setup. A ten-second click that saves a very bad day later.
Knowing when it's actually online: ntfy
Tailscale tells me the box is reachable, but I still want to know the moment it finishes booting, without going and checking myself. ntfy.sh handles that — a dead-simple push notification service. The box POSTs a message to a random, unguessable topic on boot, and the ntfy app on my phone, subscribed to that topic, shows it as a push notification within seconds: hostname, local IP, Tailscale IP, and the exact SSH command to connect.
The topic name is the only thing standing between this and anyone reading it, so it's generated long and random — never anything guessable like a hostname.
Wi-Fi that fixes itself
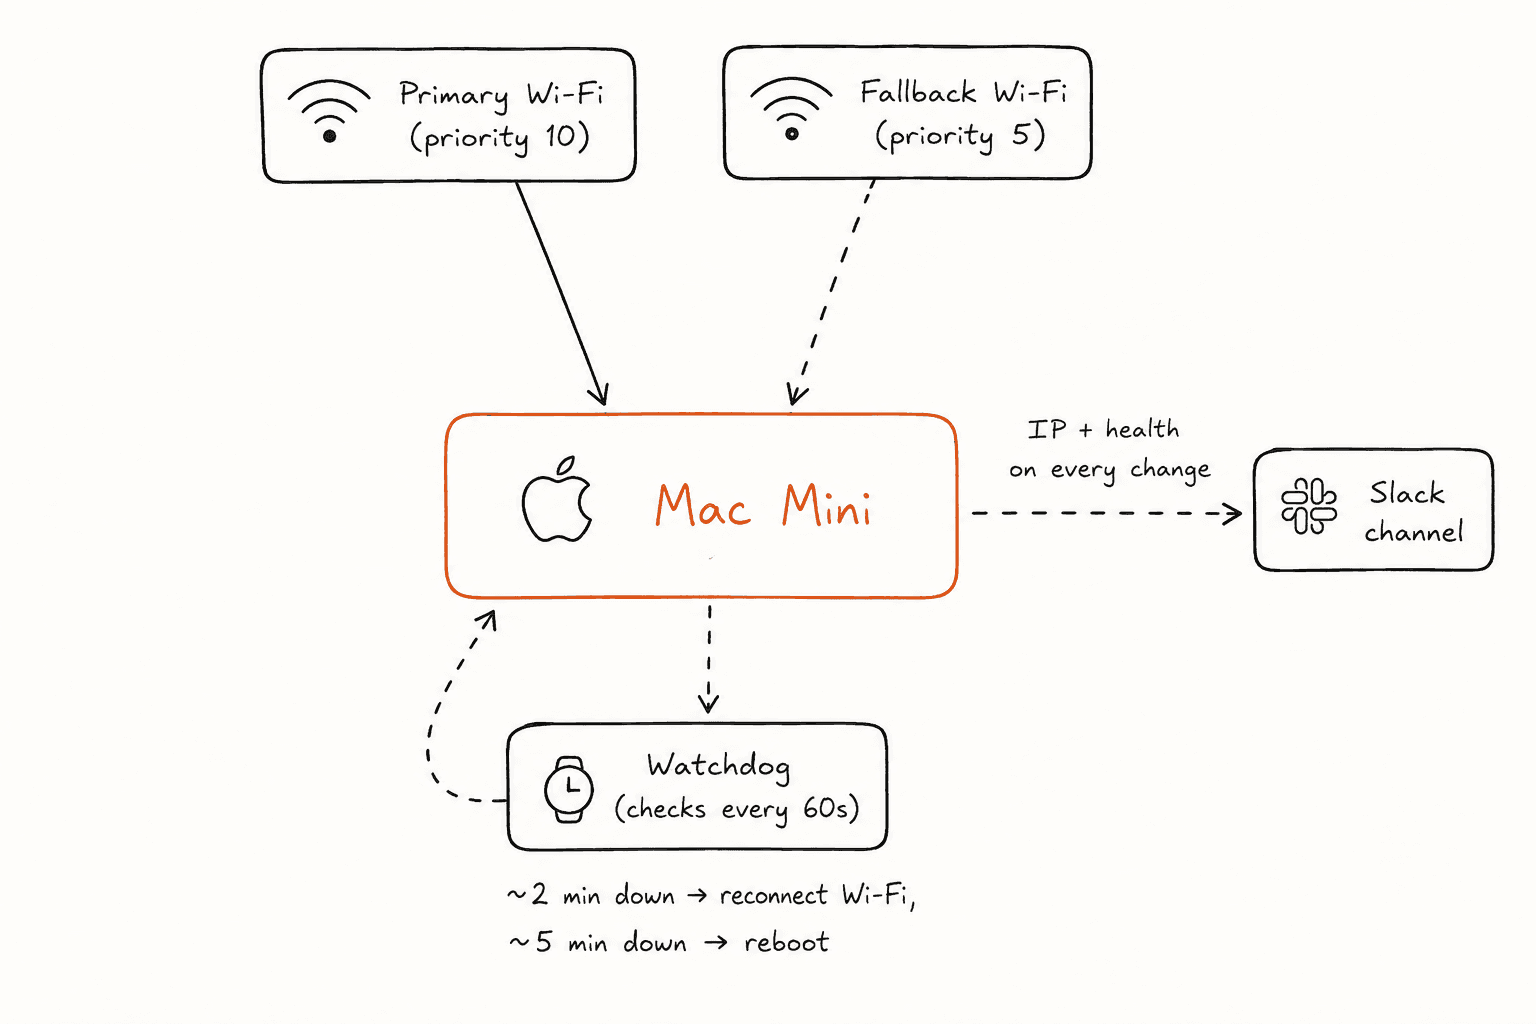
This machine runs on Wi-Fi, not Ethernet — normally the riskier choice for something you'll never sit in front of again, since a dropped connection means a dropped everything. Two problems needed solving: getting it onto a new network safely, and making sure it never just stays disconnected.
Switching networks without locking myself out
Changing which Wi-Fi network a headless box connects to is exactly the kind of change that can strand it — if the new network doesn't actually work, there's no monitor to fix it from. So instead of switching over directly, it's a guarded cutover:
- The new network profile gets added first, auto-connect turned off, so nothing switches yet.
- A detached background process — one that survives even if my SSH session drops — brings up the new network, checks for real internet (not just a Wi-Fi connection, an actual working one), and only then proceeds.
- If it can't confirm the box is reachable within about 10 minutes, it reverts to the old network automatically. No manual recovery needed.
- Once I confirm I can reach it on the new network, I commit — only then does the new network become the priority default, with the old one kept as a lower-priority fallback.
That fallback matters beyond the initial switch, too: the box always has a second network profile it can fall back to if the primary one ever disappears.
Self-healing when it drops anyway
Even with a good network chosen, the Wi-Fi adapter on this machine has a habit of dozing off and failing to reconnect on its own — an older chipset issue, made worse by power-saving being on by default. Two fixes together solved it:
- Power-saving forced off on the Wi-Fi radio, reapplied automatically on every reconnect — some drivers ignore the usual network-manager setting, so it has to be set directly and kept in place.
- A watchdog — a systemd timer checking for real internet every 60 seconds. Down for about two minutes, it bounces the Wi-Fi radio and retries. Still down after five, it reboots the machine outright, which reliably comes back clean.
Worst case now, the box is offline for a few minutes and recovers on its own. Best case, it never notices anything happened at all.
A Slack channel that watches the network
Every time the network comes up — on boot, or after switching or reconnecting — the box posts to a dedicated Slack channel with its hostname, current network name, local IP, and Tailscale IP. If Tailscale itself is ever having a bad day, there's still a fresh private IP sitting in Slack to reach the box directly over the local network as a last resort.
Hosting things: k3s over Tailscale
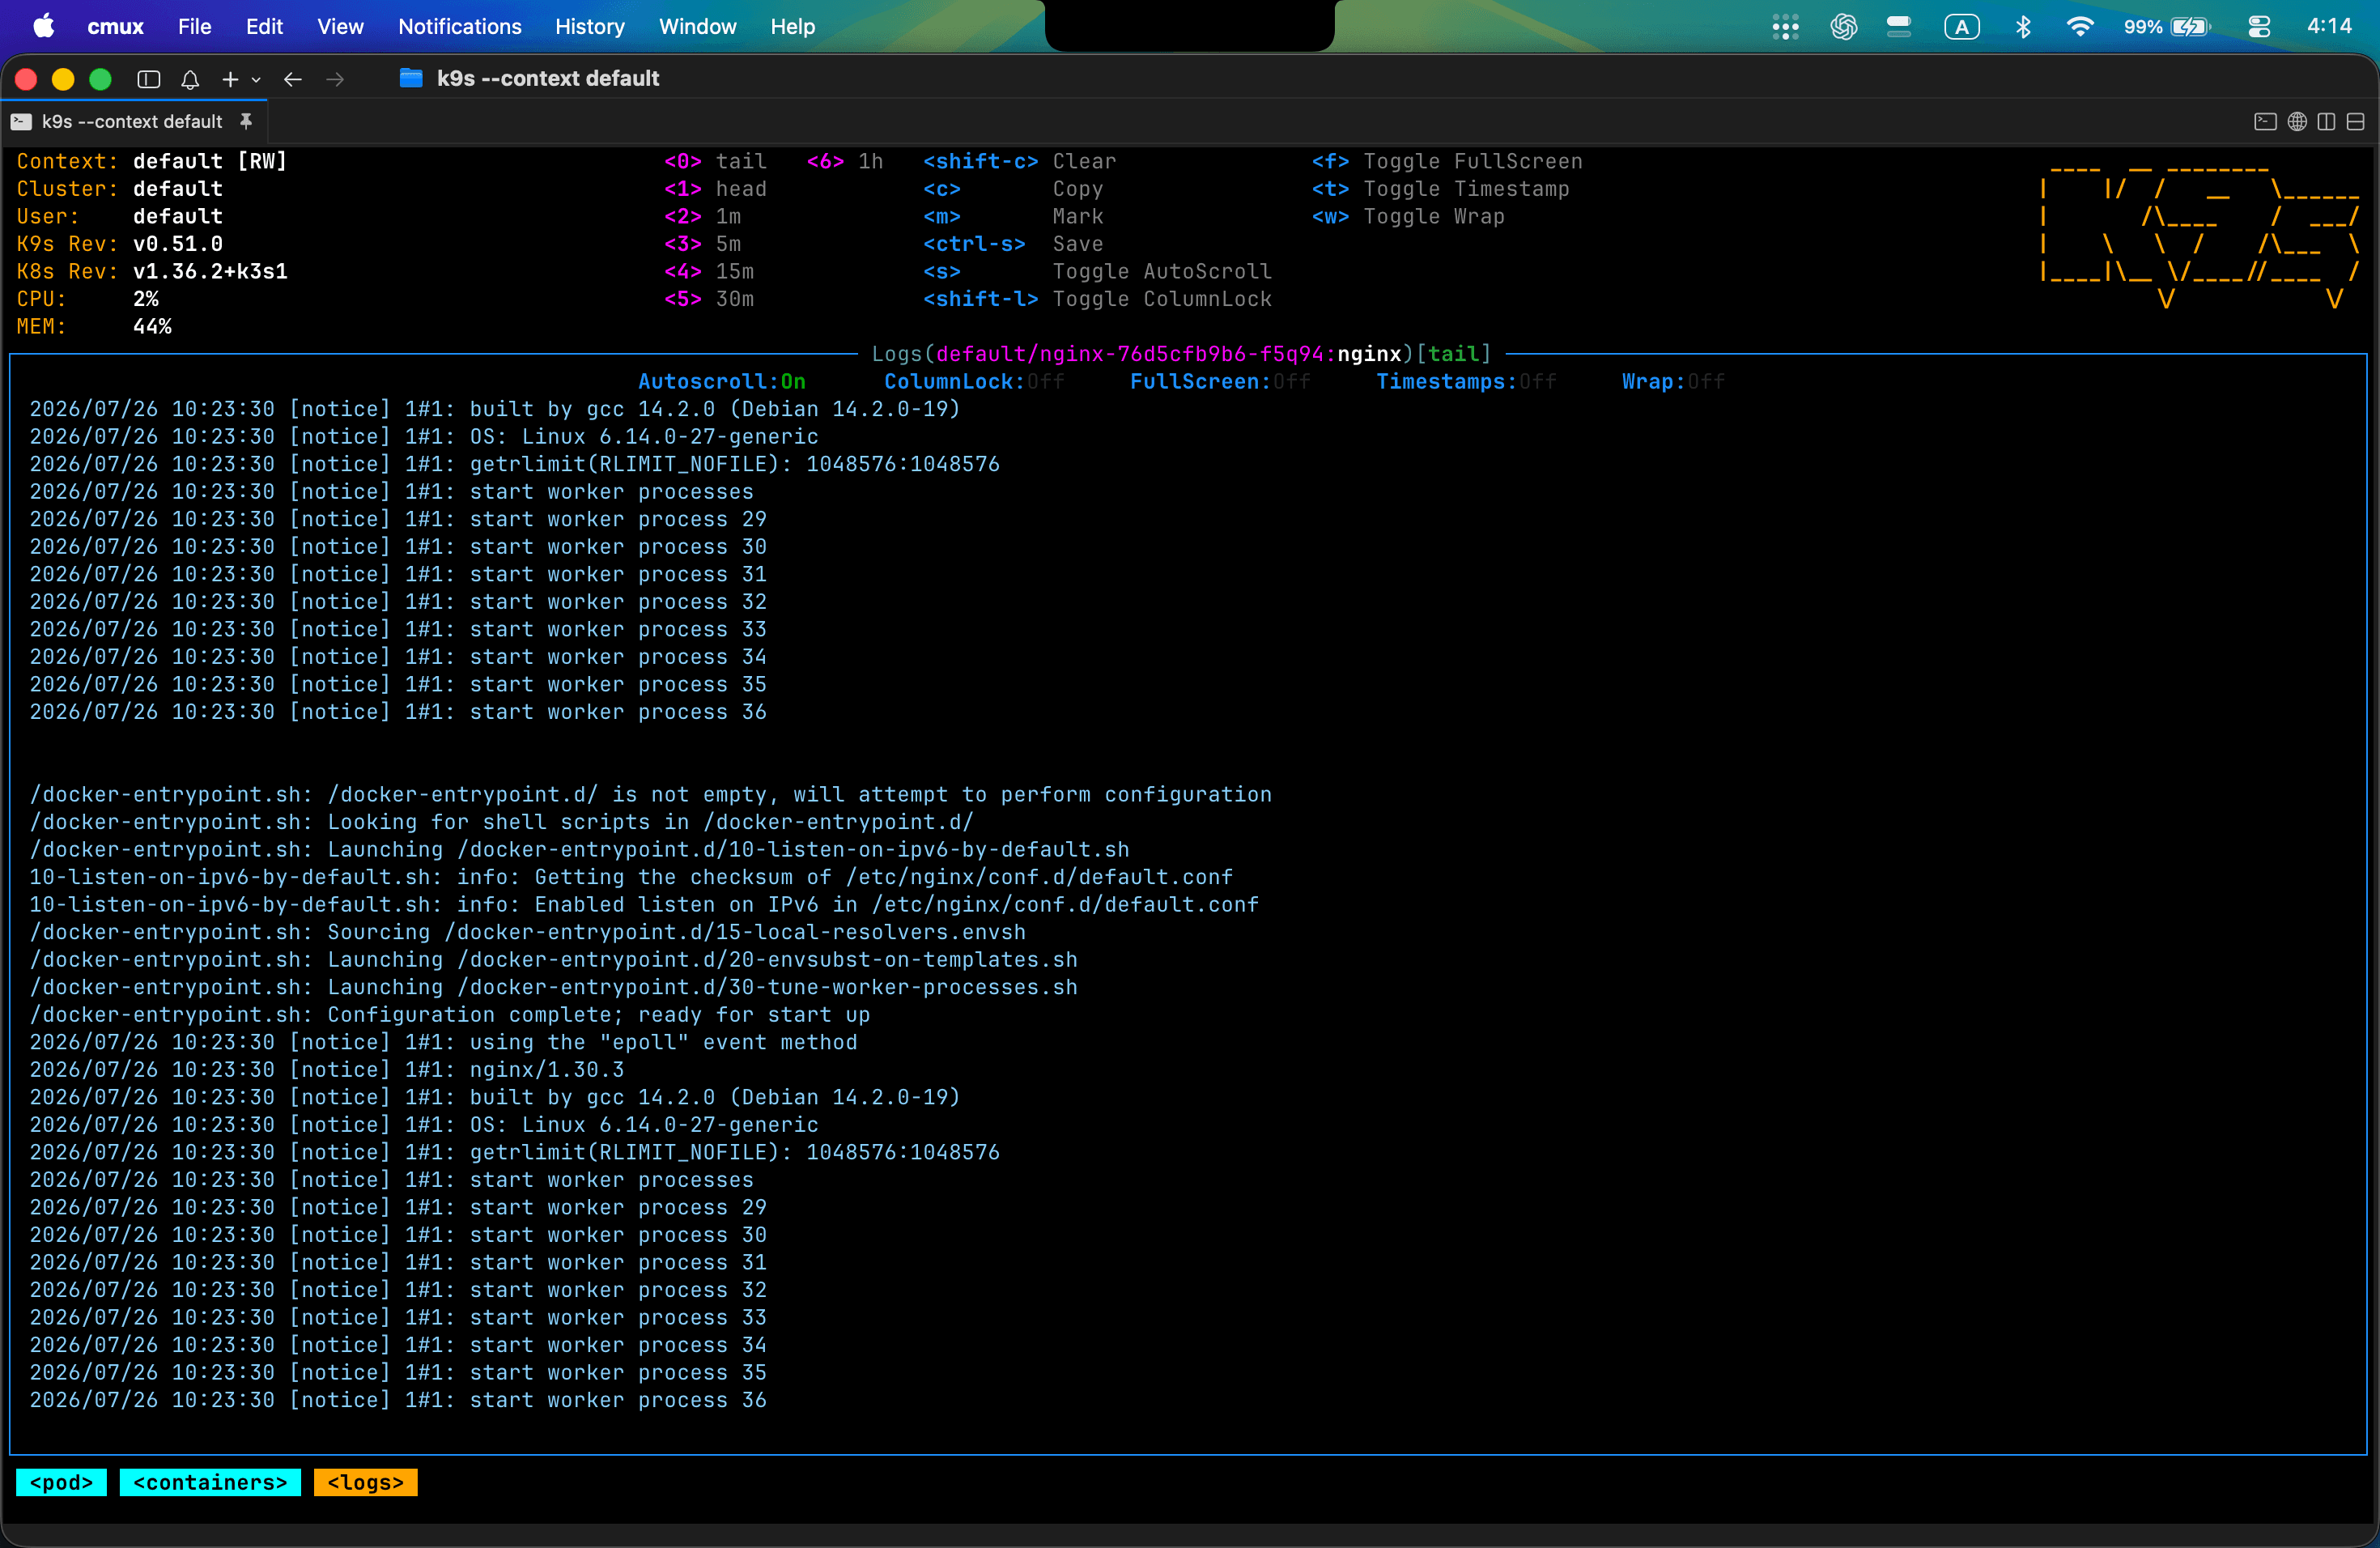
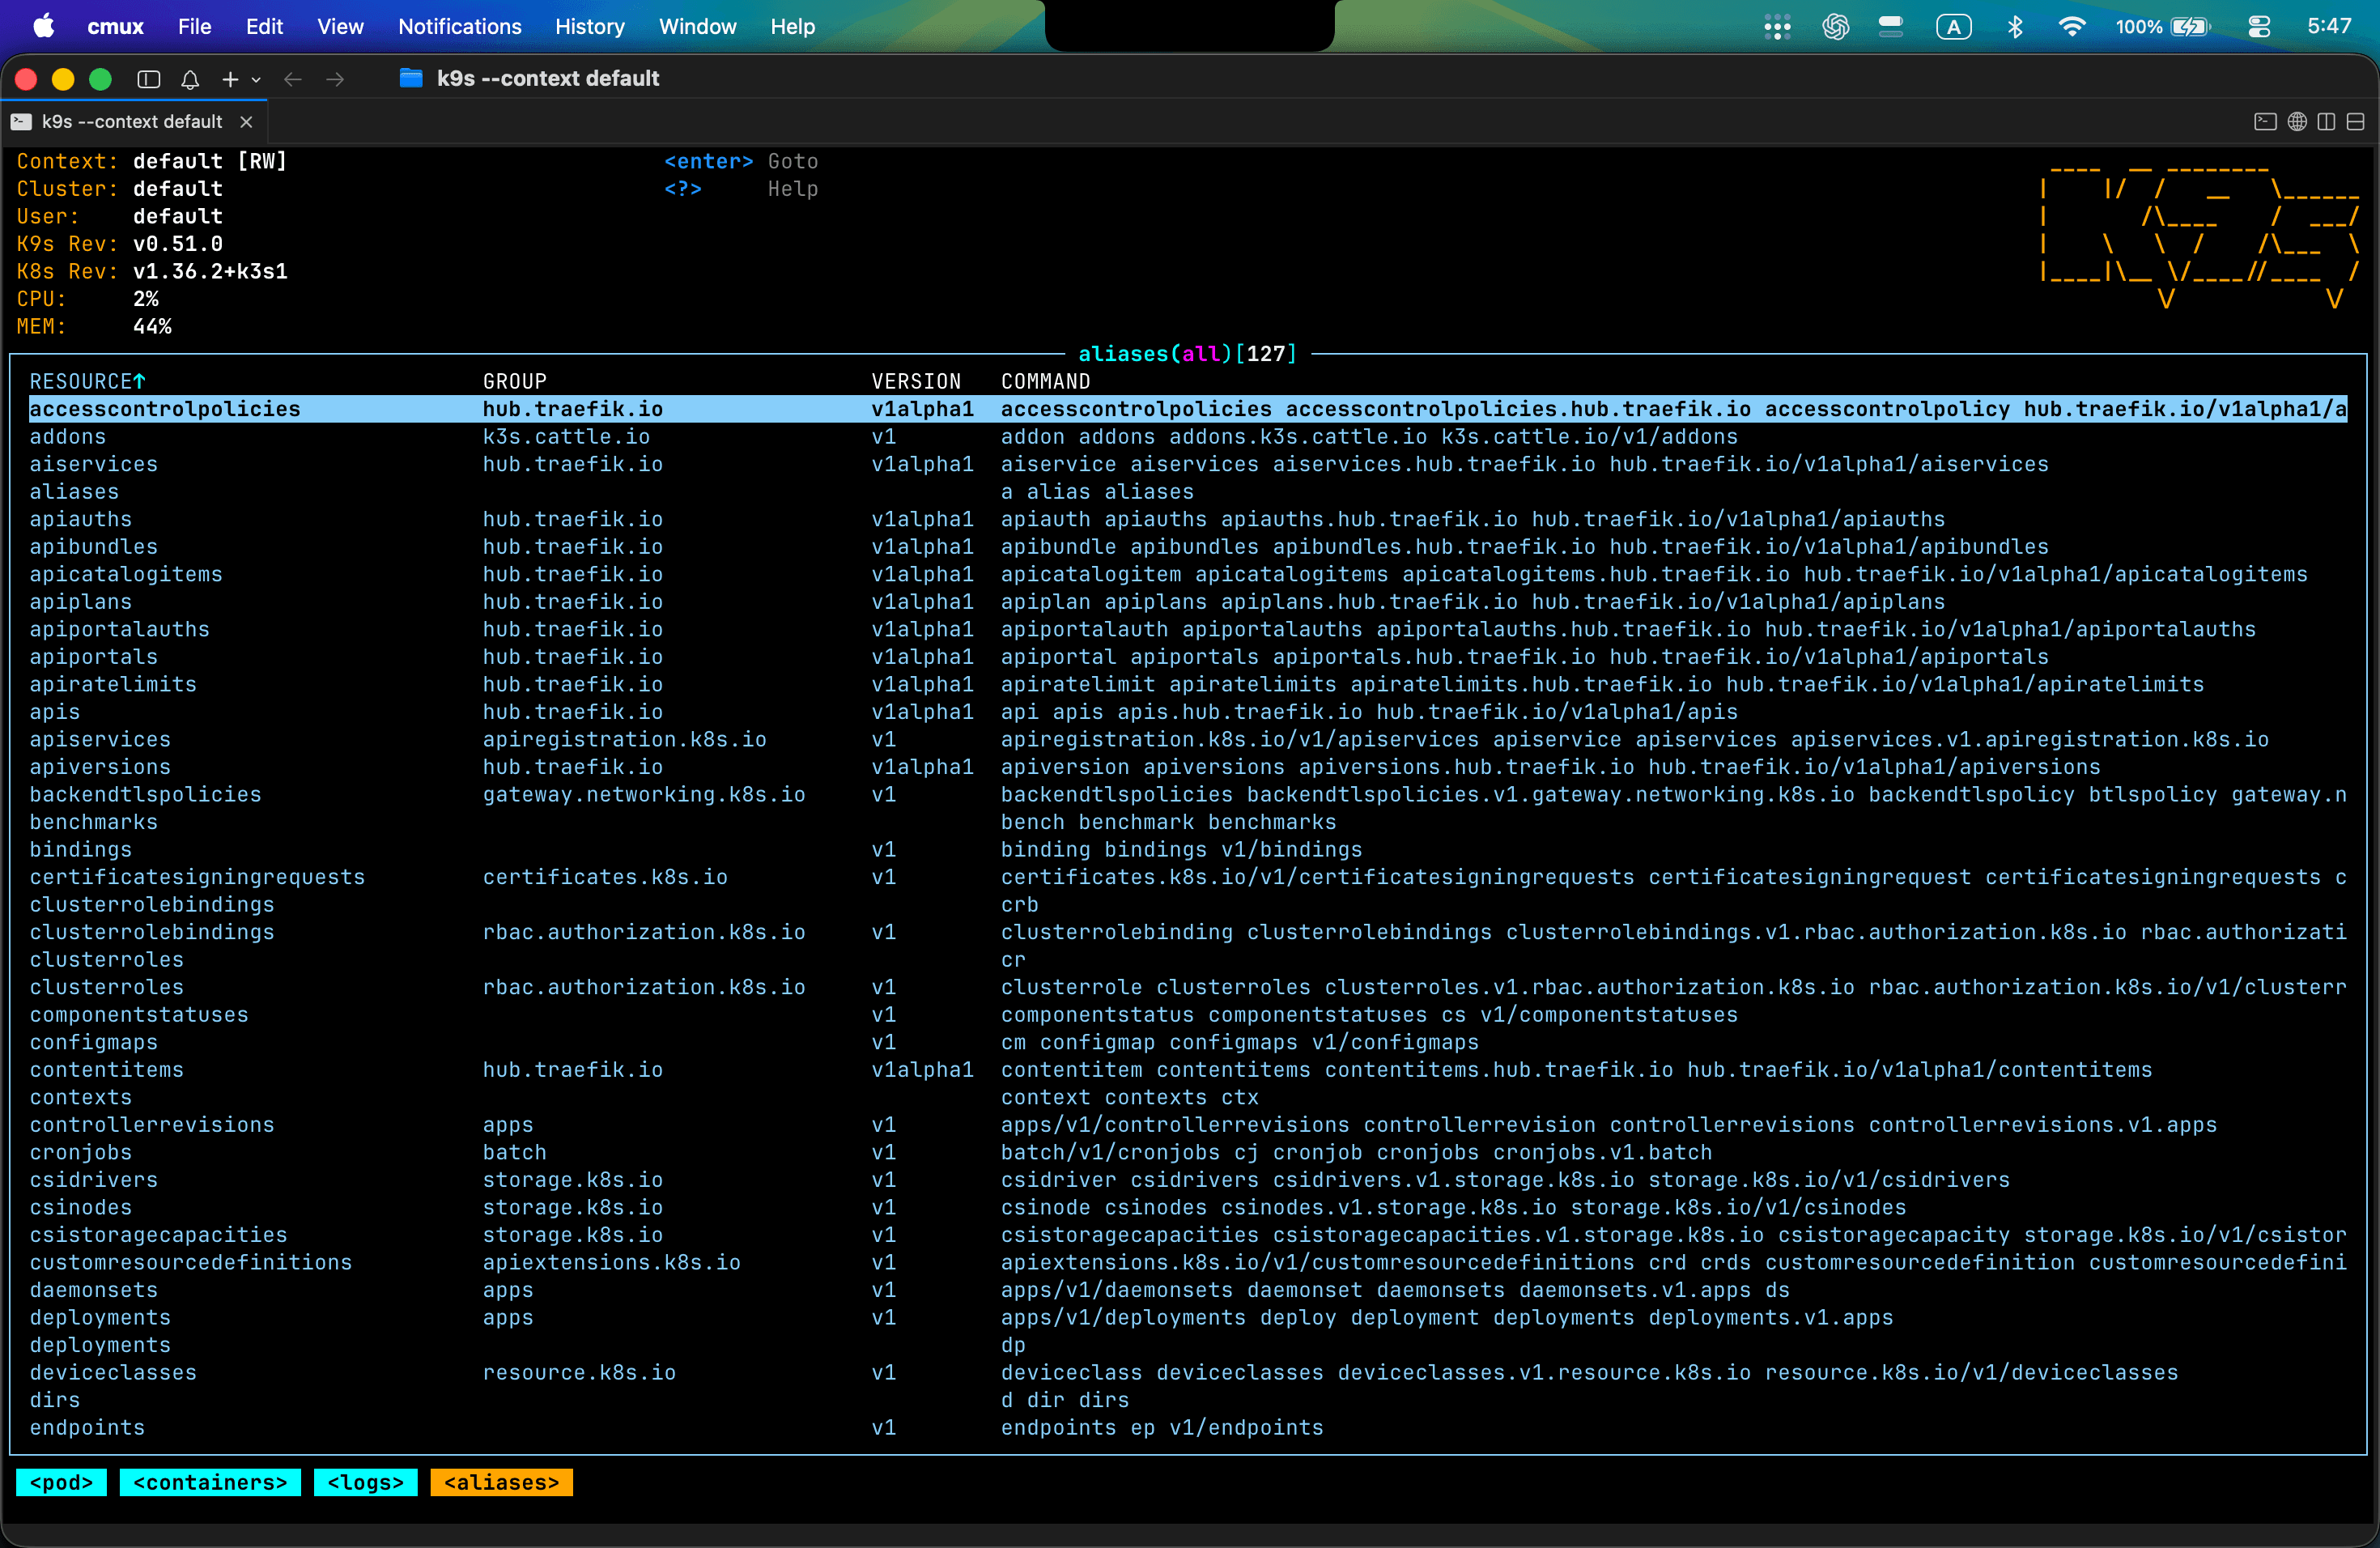
With a reliable, reachable box in place, the next question was where to actually run things. k3s — a lightweight, single-node Kubernetes distribution — runs directly on it. It bundles an ingress controller (Traefik) and local storage, and its idle footprint sits well under a gigabyte of RAM, which leaves plenty of room for actual workloads on a small machine.
The Kubernetes API is only reachable over Tailscale, not the local network or the internet — the firewall allows port 6443 on the Tailscale interface, and nowhere else. The cluster's kubeconfig lives on my laptop too, pointed at the box's Tailscale name, so kubectlworks from anywhere I'm connected to the tailnet:
kubectl get nodes
kubectl get pods -A
I also capped how much of the machine k3s is allowed to use — a soft reservation so the kubelet always keeps some memory and CPU aside for the host itself, plus a hard ceiling on the whole k3s process tree, so a runaway workload can't take the box down.
Getting to the outside world: Cloudflare Tunnel
A home network doesn't come with a public IP, so there's nothing to point a normal DNS record at, and no router I control to forward ports on even if I wanted to. Cloudflare Tunnel solves that the same way Tailscale does — outbound only. A small process (cloudflared) runs on the box and holds an open connection out to Cloudflare's edge. No ports opened, no public IP needed.
Once a subdomain is attached to the tunnel, the path looks like this: a request to app.yourdomain.comhits Cloudflare's edge, gets HTTPS terminated automatically, and routes down the tunnel to whatever's listening locally — in this case, Traefik on port 80, which then routes by hostname to the right service inside the cluster.
Adding a new app later is the same three steps every time: a Deployment, Service, and Ingress in the cluster with the new hostname; a public-hostname rule on the tunnel pointing at Traefik; and a proxied DNS record. Since Traefik already does the hostname routing, everything funnels through the same one tunnel.
Worth keeping this split clear: Tailscale is the private admin plane — SSH, kubectl, anything only I should touch. Cloudflare Tunnel is the public plane — the actual apps, reachable by anyone at a normal HTTPS URL. Neither exposes the other.
What actually runs on it
A few more pieces round out the setup, running as containers or services on the same box:
- n8n, running in Docker, for workflow automation — connecting APIs and services together without writing a dedicated script for each one.
- A small chat-driven agent I call Hermes, wired to the box, that lets me make configuration changes just by describing what I want, instead of SSHing in every time for something small.
- Remote coding through Claude Code — an agent session that connects to the box over the same network, so I can write and run code directly on it from my laptop or phone without keeping a separate local checkout in sync.
None of these needed anything special beyond what's already in place — they're just more containers and services sitting behind the same Tailscale/Cloudflare split as everything else.
If you want to self-host more
Once the access and networking layer is solid, adding services is the easy part. Worth having on the list beyond just the basics:
None of it needs to happen at once. Start with reliable remote access and one or two services — the rest is just repeating the same pattern: a container, a hostname, and a place for it to live.
The whole thing rests on the same idea twice: don't expose anything directly, tunnel out instead. Tailscale for the parts only I should touch, Cloudflare Tunnel for the parts the world should see. Everything else — the watchdog, the notifications, the fallback network — exists so that when something does go wrong, it fixes itself or at least tells me, instead of me finding out the hard way that a machine with no monitor has quietly gone dark.
If you're setting up something similar and have questions about any part of this setup, feel free to reach out.